New Blog

.......................................................NEW BLOG...check us out.......................................................

FIRST TIME VISITOR?

FIRST TIME VISITOR?

Click on the page links below and learn how Knocking it Off can help you BE THE BEST YOU CAN BE at getting it for "AS FREE AS CAN BE."
Showing posts with label vinyl. Show all posts

Saturday, April 16, 2011

Cool Ideas: Sand Jars

 If you've seen my other posts, you'd know how much I love glass jars. It seems I can always think up cool ways to utilize them. Here's my latest idea.


Being from Hawaii, I miss the land and especially the beaches. I've always wanted to bring a little bit of home with me so I have that connection. I decided to bring the beach home with me. . . .I decided to bring home sand. Well, I did not only bring home the sand from 1 beach, I brought the sand from 6 different beaches home (go big or go home right? lol!).


Molokai, being an island, is filled with sand! There are hundreds of beaches so it was easy for me to get my hands on some. Sand is sand right? WRONG! The sand is unique to the beach it came from. Take a look at the picture above. These 3 different sands are from beaches next to each other and yet, they have very different characteristics. Sand may differ in grain size (course/fine), content and color of content (what the sand is made up of specific to the region), and shade overall (the darkness or lightness of the sand). Knowing all of this, I got to work on my project.

On my last trip home in March 2011, I brought home sand in water bottles.

I made sure to put their names on them with a permanent marker so I didn't mix any of them up.

I also labeled their caps with the 1st initial of the name of the beach they were from.

Great Tip! Here's a great tip if you are bringing more than 1 bottle of sand home on the plane. If you are on a trip and are bringing back a buttload of other souvenirs, it may be hard for you to bring back more than 1 bottle of sand especially if you have to pay the airlines those expensive baggage fees. Pack your sand (in water bottles, ziplocs or whatever else you can find) and label them. Go to the Post Office and get a small or medium flat rate boxes and ship your sand home. It will not matter how heavy the sand is, as long as it fits in the box (my baggage got very heavy bringing just 10 water bottles of sand home). This will save you time, $ and it will save your back!

Here are the steps I took once I was home.

1. I cleaned up the jar I was going to use by washing it and scraping the label off the outside. You may also spraypaint the cap if there is labeling on it.

2. Some of the sand I brought home was very damp. I got a tray that I had laying around, and I dumped the wet sand into it. (you can also use those cardboard soda boxes to do this part)

3. Then I smoothed the sand out evenly with a ruler (you can use anything to smooth the sand out).

4. I took my sand outside and let it lay out in the sun so it could dry thoroughly.

Here's a view from the back. I just put a piece of wood I had laying around underneath the trays so they could be propped up facing the sun. This helps them dry faster. Warning: if you have lots of cats in the area, make sure to keep an eye on your sand or you'll find a present they left just for you *;)

5. I labeled a sandwich size ziploc bag to store the sand once it dried.

6. Using the lid of the glass jar, I traced a circle on a clear plastic bag and cut it out. These circles are to put between the layers of sand so they won't mix into each other. Because you are tracing the lid of the jar you are going to be using, the circles should be the perfect size for your jar.

The circles should look like this

7. Pour the first layer of sand in the jar and then place a circle on the top of that layer. Make sure it is in the middle of the layer.

8. Pour each layer one after another. Using a tool (a little ruler or something that has a wide end) smooth the sand in each layer out and move it towards the glass (I wish I had a pic of this but I dont. Don't worry, you'll get the hang of it). Make sure the layers are pretty equal in thickness.  
9. Warning! Make sure you keep track of the order of the sand! First off, I put all my bottles and bags in the order I was going to pour the sand.

10. Warning! Make sure that when you put the sand in order, you pay attention to the look of the sand. If you have the sand from 3 different beaches that look almost the same, you will want to space them out evenly. What you want is contrast. A black or darker sand against a whiter sand will look better than 2 white sands together.

11. Warning! This may be the most important thing. When putting the last layer of sand in the jar, make sure the sand goes all the way to the top of the jar so that it pushes against the lid when you seal the jar. This will ensure that the layers will not move and mix up.


 12. I labeled the jars with vinyl that I had cut myself. You do not need to use vinyl. You may label the jars with tape, permanent pens, stickers and paper.

 12. Lastly, I labeled the cover with the place I got the sand from. I got all my sand from my island so I put Moloka'i (the island), Hawai'i (the state). You could also put dates, like the date of your trip for example:

Hawai'i Trip 
March 2011

Now I have jars of sand from my homeland that I can display in my home. I love, love, love my jars!!! I also gave some of my friends a jar as a present, they make great gifts! I also made some sand jars out of baby food jars for my kid's rooms. Because they are smaller, they require less sand and are perfect for  gifts for children.


1. I cleaned and filled the baby food jars exactly the same way I did my large jars. Paint the lids.

2. I printed the names of the beaches on my home computer using a very small font. You can print on regular paper or labels. I suggest using labels so they stick to the jar. Using a ruler, cut the names out so they are in one straight rectangle.


3. Now that you have the labels adhered to the outside of the jar, you need to put a laminate-like coating on the label so it won't smear. I used packing tape to do this.
  1. Place a strip of packing tape over the label and trim.
2.Make sure to keep the tape smooth over the label.

3. and 4. Using an exacto knife, kitchen knife or scissors, score or cut the tape along the outside of the label with the blade.

5. Grab the edge of the tape and peel. It should peel off easily along the edges of the label.

Here's the sand jar in baby size. How cute!


Enjoy your little bit of Paradise!

Brandi-Lee

Thursday, March 10, 2011

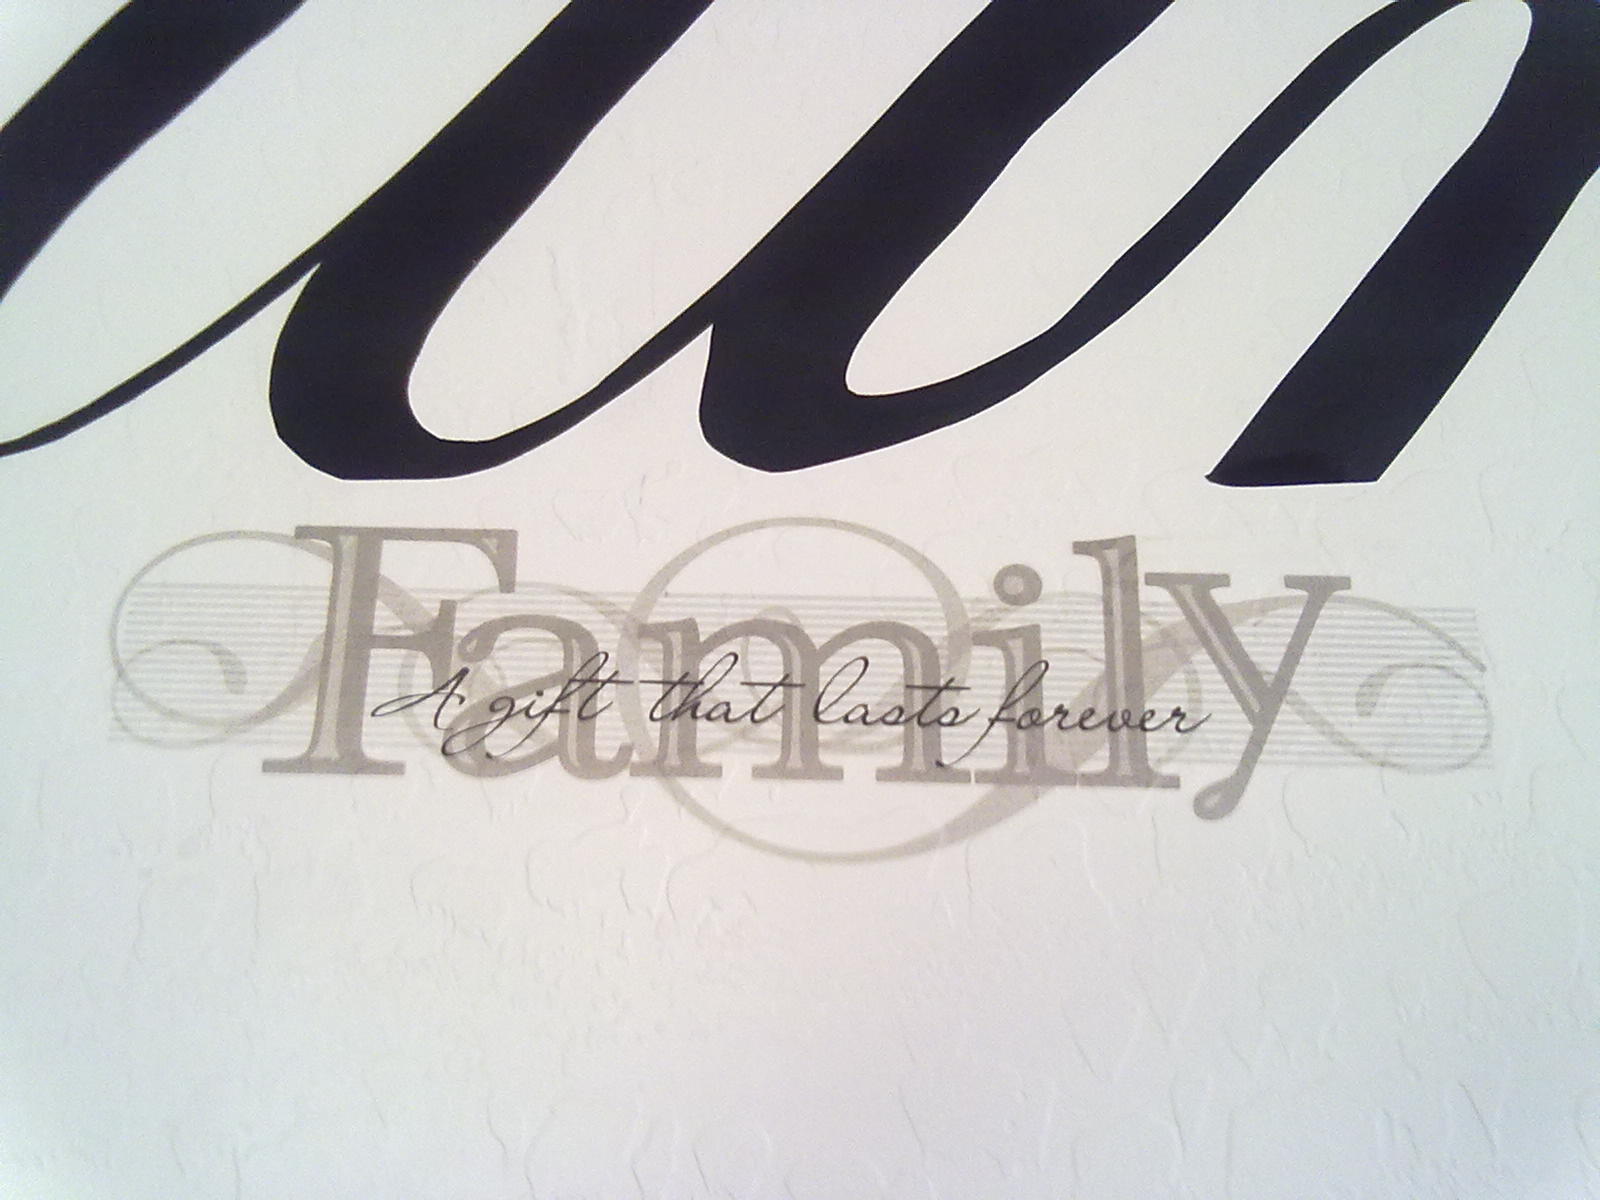
Awesome Find: Faux Vinyl Wall Stickers

Wall Stickers

(Found it at the Dollar Store) whoop! whoop!

cost = $1


They have lots of different designs. 


Here are some of the ones that I bought...


This was one of my favorite...


Do you remember the faux vinyl project that I did?

 I added a wall sticker to it...oooo...so pretty.


I also moved a hutch that I had in the kitchen into the room to help take up some wall space.
I got this hutch on the side of the road...marked free. 
 I spray painted it with black spray paint. 
It took about 2 cans.

Total for this grouping $5

faux vinyl $2
wall sticker $1
Hutch - FREE
spray paint $2

Grand Total = $5

stay tuned to see what happens to the hutch:)

"stick" around...lol

mileka:)

Sunday, January 23, 2011

How To: Faux Vinyl (made from clear contact paper)

Introducing...(drum roll please)...
Faux Vinyl

Want vinyl?

Don't want to pay full price for it?  ...Yes.

(keep reading)

Did you know that you can use contact paper to save money?  ...Yes/NO.

(keep reading)

People use contact paper as vinyl in their vinyl cutting machines all the time (it's cheaper).

What if you don't have a vinyl cutting machine?
(cricket, silhouette,etc.)

(keep reading)

Did you know you can use contact paper and cut your own vinyl (without a machine)?...No.

Yes!!!!!  Yes you can!!!!!

I DID!!!


IF I CAN, YOU CAN!!!


I wanted our last name up on the wall in our living room.  I wanted it large and beautiful...
but, as you know I don't want to pay full price.  I knew that I could do it.  I just needed to figure out how.

I don't have a vinyl cutter (so sad). 
I love vinyl as much as the next person but just can't get myself to buy one. 
So...I set out to do it on my own.

Here is how I did it...


1.  I bought clear contact paper (I wanted black contact paper but couldn't find any in my area).  I didn't want to buy it online.  If you know me, I won't buy something "special" if I can figure out how to make it myself.   FYI-clear contact paper is cheaper than black.

Contact Paper = $1 (Dollar Tree)


I tested the contact paper using acrylic and spray paint.  
I sanded to prep the surface (one sample for each type of paint) and the other I didn't.   

One hour later I did a scratch test.  They weren't fully dry so they scratched.
I left them to dry over night and scratch tested them again.  They all held up well (no scratch marks).
I decided to use the NO PREP SPRAY PAINT method...the easiest method (of course).


2.  I laid the contact paper out on newspaper and used tape and rocks to hold it open.  I sprayed it using our good old trusty Walmart brand $1 spray paint.  I did 2 light coats to prevent dripping, letting it dry overnight between each coat.  I ran out of spray paint so I actually had to buy some:(

Spray Paint = $1 (Walmart)


(depending on the quality of your screen you may not be able to see the font in the pictures)


3.  I went on the computer to find a font I liked and got it hubby approved (I changed the font to outline style).  Then I traced a horizontal line along the bottom of the lettering, along the top and through the middle (at the top of the lower case letters).    I folded the paper in half (vertically and horizontally), and again and again until I got a
grid of squares and then traced the folds.


4. I taped your basic computer printing paper together to match the size of the contact paper (to be used as my pattern).


5. I created a grid on the computer paper to match the grids on my font paper.  This is a technique used by artists to take a smaller image and enlarge it.  I'm sure you probably remember doing this back in school in art class.
Here you can see where I went back and made a grid on my font paper to make it easier to see the grids
(just for you...cuz I love ya). 


6. I used the boxes on the font paper to help me enlarge the image.  I copied the picture in each box from the font paper onto the larger paper (drawing it the same just bigger).   When I was done copying the boxes I went back and smoothed out the image (connecting the lines smoother, checked spacing, etc.)  When I liked what it looked like I colored it in with a marker to make it easier to see.


Here we are checking it out.  Love it!

7. I trimmed the pattern and taped it onto the sprayed contact paper. 

8.  I cut out the pattern and the contact paper using a utility knife/exact knife/box cutter with a cardboard underneath (and it cuts right through)-which isn't necessarily a problem.  I also cut part of it without a backing (cutting directly onto the cement). Each technique gives you different results.

Cardboard behind-cuts through the pattern, contact paper, and backing of the contact paper.
Nothing behind-cuts through the pattern and contact paper but not the backing of the contact paper.
But...of course all of this varies based on the amount of pressure you use when cutting.  You may want to practice before doing a giant sized one (like me).
FYI-I didn't practice or try it out on anything. 
I just did it...that's how I am. 
I like to do it and learn along the way. 
I think it's fun.


Getting it up on the wall is the tricky part.  Why is it tricky?  Because you need to take your time and go slowly.  I was running behind schedule for a meeting but wanted to get it up (because I was so excited)...so I totally forgot to take pictures along the way.  I know that pictures are worth a thousand words.  Bare with me as I try to explain.


9.  Prep the wall.  I marked my living room wall marking the center and where I wanted the bottom of the lettering to go.  We decided we wanted the top of the lettering to be one foot from the ceiling.  I drew a horizontal line marking where the bottom of the lettering would go.

10.  I removed the pattern from the contact paper and drew a horizontal under line under each of the letters (stretching beyond the letter to the left and right).  This is the line that I use to line up to the line on the wall (the line that I made in step #9).

11.  I checked the backing of the contact paper. 
Some of the areas had cut through the backing so I taped it together.

12.  I taped the contact paper to the wall using the under line of the lettering to match up to the line I drew on the wall.

13.  I slowly peeled the back of the contact paper (from behind) one section at a time and adhered it to the wall.  As I finished a section I would remove the outer area surrounding the letter before moving on to the next section.  This took time and patience.  There were areas that didn't cut all the way through.  I did have to use my box cutter/scissors here and there.  I did it with all the kids around...so I lost my patience a few times and a couple of kids got a good yelling at....thus no pictures.  Maybe next time I'll have the kids take the pictures?  That might be a good idea.  You never know.

14.  I took a step back and looked for areas that needed a little tweaking.  Remember this is hand cut and not perfect...but I love it!  I just peeled the small area off the wall, gave it a good trim with my handy dandy scissors and stuck it back on. 


Tada...
Faux vinyl (4 feet by 1.5 feet)

Time = FREE
Patience = um....FREE
Contact Paper = $1
Spray Paint = $1

Grand Total = $2

I got an estimate from someone in our community who does vinyl.   It would cost about $22.
I saved $20.
How awesome is that?

TOTALLY AWESOME!!!

Mileka:)

wishing you luck on your next faux vinyl project

Related Posts Plugin for WordPress, Blogger...